Most hobbyists start off with a cheap and nasty soldering iron which takes minutes to heat up, and provides no temperature control. Whilst a decent soldering station is a significant upgrade from a typical beginners iron, the cost can be prohibitive. Thankfully, GreatScottLab has put together a great instructable detailing how you can build your own fully controllable soldering station.
Not only is building your own significantly cheaper than buying a soldering station, but the process of building the electronics and 3D printing the enclosure provides a fantastic educational opportunity! To find out more about how you can get started building your own soldering station checkout the following link.
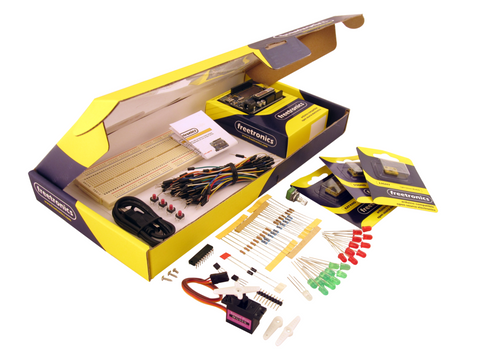
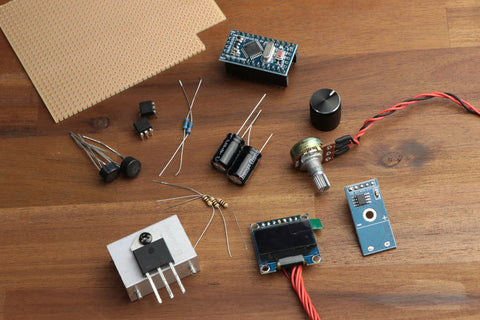
Have you been reading about cool projects like this and would like to understand more? Checkout our Experimenter's Kit for Arduino:

The package includes a wide variety of parts, sensors and modules including: a servo motor, lights, buttons, switches, sound, sensors, breadboard, wires and more. Furthermore a Freetronics Eleven Arduino-compatible board is included to make this an extensive hobby experimenter, inventor and starter kit. The kit also includes a great project and instruction booklet, plus access to a supporting web page and software examples. To get started or for more information and to order, checkout the product page.
Already working on a project you want us to feature in this blog? Let us know in the comments section below or on Facebook and Twitter.